springboot返回视图而不是string
|
1
2
3
4
5
6
7
8
9
10
11
12
13
|
package com.example.demo.controller;
import org.springframework.boot.autoconfigure.EnableAutoConfiguration;
import org.springframework.stereotype.Controller;
import org.springframework.web.bind.annotation.RequestMapping;
@Controller
@EnableAutoConfiguration
public class HelloController {
@RequestMapping("/hello")
public String hello() {
System.out.println("进入controller");
return "hello";
}
}
|
注意释@Controller而不是@RestContreller
@RestController返回的是json(JSON 是 JS 对象的字符串表示法,它使用文本表示一个 JS 对象的信息,本质是一个字符串。)如果用了@RestController则不要用@Responsebody
还有一种就是通过ModelAndView
|
1
2
3
4
5
6
7
8
9
10
11
12
13
14
15
16
17
|
import org.springframework.boot.autoconfigure.EnableAutoConfiguration;
import org.springframework.stereotype.Controller;
import org.springframework.web.bind.annotation.RequestMapping;
import org.springframework.web.bind.annotation.ResponseBody;
import org.springframework.web.servlet.ModelAndView;
@Controller
@EnableAutoConfiguration
public class HelloController {
@RequestMapping("/hello")
@ResponseBody
public ModelAndView hello(){
System.out.println("hello!");
ModelAndView mode = new ModelAndView();
mode.setViewName("hello");
return mode;
}
}
|
一般用于携带参数且返回视图,如果要带参数的话,加上mode.addObject()函数
另外需要注意一点,html文件中所有标签都必须要有结束符,idea有时候生成meta标签时会没有结束符,所以要加上
最终输入http://localhost:8080/hello就可以了
springboot返回视图方式
Spring boot返回视图的方式
1.使用ModelAndView
在controller中
|
1
2
3
4
5
6
7
8
9
|
@RequestMapping("toTest")
public ModelAndView toTest(){
ModelAndView mv = new ModelAndView();
//视图名
mv.setViewName("login");
//想传的数据
mv.addObject("o1","数据1");
return mv;
}
|
2.使用webMVC配置
创建配置类
|
1
2
3
4
5
6
7
8
9
10
11
12
13
14
15
16
17
18
19
20
|
package com.ch.exercise.config.webMvc;
import org.springframework.context.annotation.Configuration;
import org.springframework.web.servlet.config.annotation.ViewControllerRegistry;
import org.springframework.web.servlet.config.annotation.WebMvcConfigurer;
/**
* MVC配置
* @author CH
* @date 2021-08-19 11:45
*/
@Configuration
public class WebMvcConfig implements WebMvcConfigurer {
@Override
public void addViewControllers(ViewControllerRegistry registry) {
registry
//接收的请求
.addViewController("/toLogin")
//跳转的页面名
.setViewName("login");
}
}
|
补充一下
快速上手
1.在pom.xml添加依赖
|
1
2
3
4
5
6
7
8
9
10
|
<dependency>
<groupId>org.springframework.bootgroupId>
<artifactId>spring-boot-starter-webartifactId>
dependency>
<dependency>
<groupId>org.springframework.bootgroupId>
<artifactId>spring-boot-starter-thymeleafartifactId>
dependency>
|
2.创建页面login.html
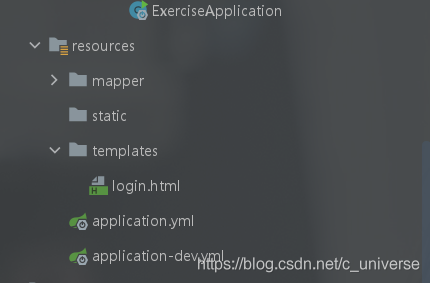
3.配置thymeleaf
在application.yml中添加上
|
1
2
3
4
5
6
7
8
9
|
spring:
thymeleaf:
#页面存放位置
prefix: classpath:/templates/
#是否缓存 这里是否
cache: false
suffix: .html
mode: LEGACYHTML5
template-resolver-order: 0
|
再进行视图配置就可以访问到了
|