
本地化部署DeepSeek 全攻略(linux、windows、mac系统部署)

一、Linux 系统部署 准备工作 硬件要求:服务器需具备充足计算资源。推荐使用 NVIDIA GPU,如 A100、V100 等,能加快模型推理速度。内存至少 32GB,存储建议采用高速固态硬盘(SSD),保障数据读
一、Linux 系统部署准备工作硬件要求:服务器需具备充足计算资源。推荐使用 NVIDIA GPU,如 A100、V100 等,能加快模型推理速度。内存至少 32GB,存储建议采用高速固态硬盘(SSD),保障数据读写高效。
安装 transformers 库:
2.下载 DeepSeek 模型
下载完成后,解压模型文件:
3.部署步骤
编写推理脚本:使用 Python 编写推理脚本,如inference.py。在脚本中导入必要库,加载 DeepSeek 模型和分词器,实现推理功能。示例代码如下:
同样,将path/to/DeepSeek-7B替换为实际路径。
二、Windows 系统部署1.准备工作硬件要求:与 Linux 系统类似,推荐配备 NVIDIA GPU,如 RTX 30 系列及以上,以获得较好的推理性能。内存建议 32GB 及以上,存储使用高速固态硬盘。
2.下载 DeepSeek 模型访问 DeepSeek 官方模型下载地址,选择合适的模型版本。
下载完成后,解压模型文件,可使用 7-Zip 等解压工具。 3. 部署步骤创建项目目录:在文件资源管理器中创建一个新的文件夹,例如 “deepseek_deployment”,用于存放部署相关文件。
将path/to/DeepSeek-7B替换为实际路径。
三、Mac 系统部署1.准备工作硬件要求:如果是配备 M1 或 M2 芯片的 Mac,可利用其强大的计算能力进行部署。对于 Intel 芯片的 Mac,建议配备较好的显卡(如果有独立显卡)。内存至少 16GB,存储使用高速固态硬盘。
如果是 M1 或 M2 芯片的 Mac,安装 PyTorch 时需注意选择适配 ARM 架构的版本:
2.下载 DeepSeek 模型访问 DeepSeek 官方模型下载地址,选择合适的模型版本。
下载完成后,解压模型文件:
3.部署步骤创建项目目录:在终端中使用以下命令创建项目目录:
编写推理脚本:使用文本编辑器(如 TextEdit、VS Code 等)编写 Python 推理脚本inference.py,内容与前面类似:
将path/to/DeepSeek-7B替换为实际路径。
四、优化与注意事项模型量化:为减少内存占用和提高推理速度,可对模型进行量化处理,如使用 INT8 量化。 |
您可能感兴趣的文章 :
- 在linux服务器本地部署Deepseek及在mac远程web-ui访问的操作
- Win10环境借助DockerDesktop部署大数据时序数据库Apache Druid的操作方法
- VScode内接入deepseek包过程记录
- deepseek本地部署流程(解决服务器繁忙以及隐私等问题)
- 完美解决DeepSeek服务器繁忙问题
- Deepseek R1模型本地化部署+API接口调用详细教程(释放AI生产力)
- DeepSeek部署之GPU监控指标接入Prometheus的过程
- Deepseek使用指南与提问优化策略方式
- DeepSeek Window本地私有化部署教程介绍
- DeepSeek本地部署流程介绍

-
使用Ollama服务监听0.0.0.0地址
一、为什么需要监听0.0.0.0地址? 在计算机网络中,0.0.0.0是一个特殊的IP地址,它表示本机上的所有IPv4地址。 当我们将一个服务配置为监听 -

在linux服务器本地部署Deepseek及在mac远程web-ui访问
1. 在Linux服务器上部署DeepSeek模型 要在 Linux 上通过 Ollama 安装和使用模型,您可以按照以下步骤进行操作: 步骤 1:安装 Ollama 安装 Ollama: -
本地化部署DeepSeek 全攻略(linux、windows、mac系统部
一、Linux 系统部署 准备工作 硬件要求:服务器需具备充足计算资源。推荐使用 NVIDIA GPU,如 A100、V100 等,能加快模型推理速度。内存至少 -
Win10环境借助DockerDesktop部署大数据时序数据库A
Win10环境借助DockerDesktop部署最新版大数据时序数据库Apache Druid32.0.0 前言 大数据分析中,有一种常见的场景,那就是时序数据,简言之,数据 -
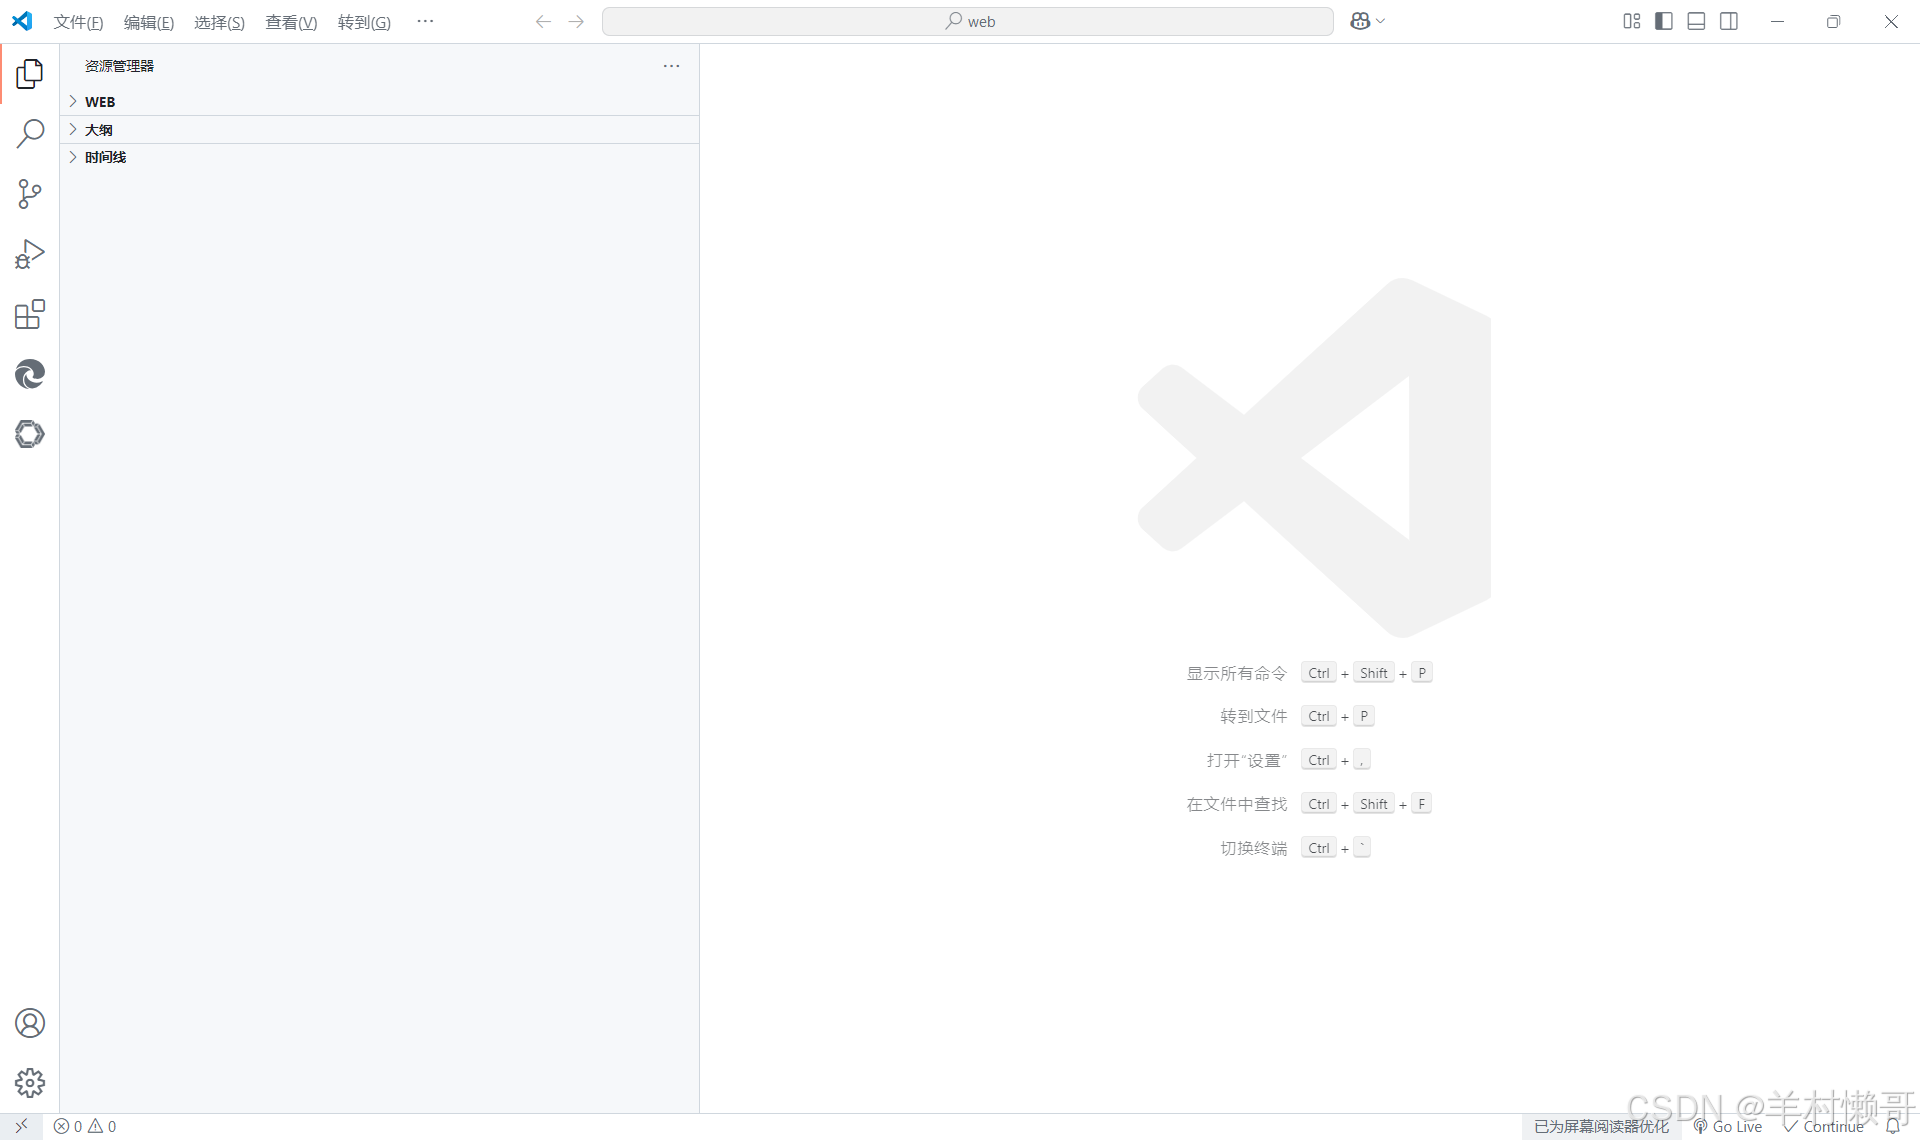
VScode内接入deepseek包过程记录
VScode内接入deepseek包过程 在 VSCode 中集成本地部署的 DeepSeek-R1 模型可以显著提升开发效率,尤其是在需要实时访问 AI 模型进行推理任务时 -

deepseek本地部署流程(解决服务器繁忙以及隐私等
由于官网deepseek老是出问题 所以我决定本地部署deepseek 很简单,不需要有什么特殊技能 正文开始 Ollama 首先到这个ollama的官网 goto-Ollama 然后 -
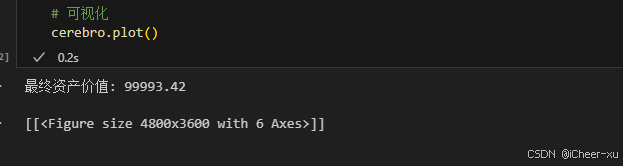
VSCODE内使用Jupyter模式运行backtrader不展示图片、图
一、VSCODE无法展示图片 在Vscode里用jupyter,运行backtrader,使用plot后,图片不展示。 运行代码 # 可视化cerebro.plot() 结果并没有弹出图片,而是 -
完美解决DeepSeek服务器繁忙问题
解决DeepSeek服务器繁忙问题 三:最为推荐 一、用户端即时优化方案 网络加速工具 推荐使用迅游加速器或海豚加速器优化网络路径,缓解因 -
Deepseek R1模型本地化部署+API接口调用详细教程(释
随着最近人工智能 DeepSeek 的爆火,越来越多的技术大佬们开始关注如何在本地部署 DeepSeek,利用其强大的功能,甚至在没有互联网连接的情 -
DeepSeek部署之GPU监控指标接入Prometheus的过程
一、背景 上一篇文章介绍了在GPU主机部署DeepSeek大模型。并且DeepSeek使用到了GPU资源来进行推理和计算的过程,加速我们模型的回答速度。


-
解决Git Bash中文乱码的问题
2022-04-23
-
webp格式图片显示异常分析及解决方案
2023-04-23
-
typescript 实现RabbitMQ死信队列和延迟队
2024-04-08
-
git clone如何解决Permission Denied(publick
2024-11-15
-
Win10环境下编译和运行 x264的详细过程
2022-10-16

